|
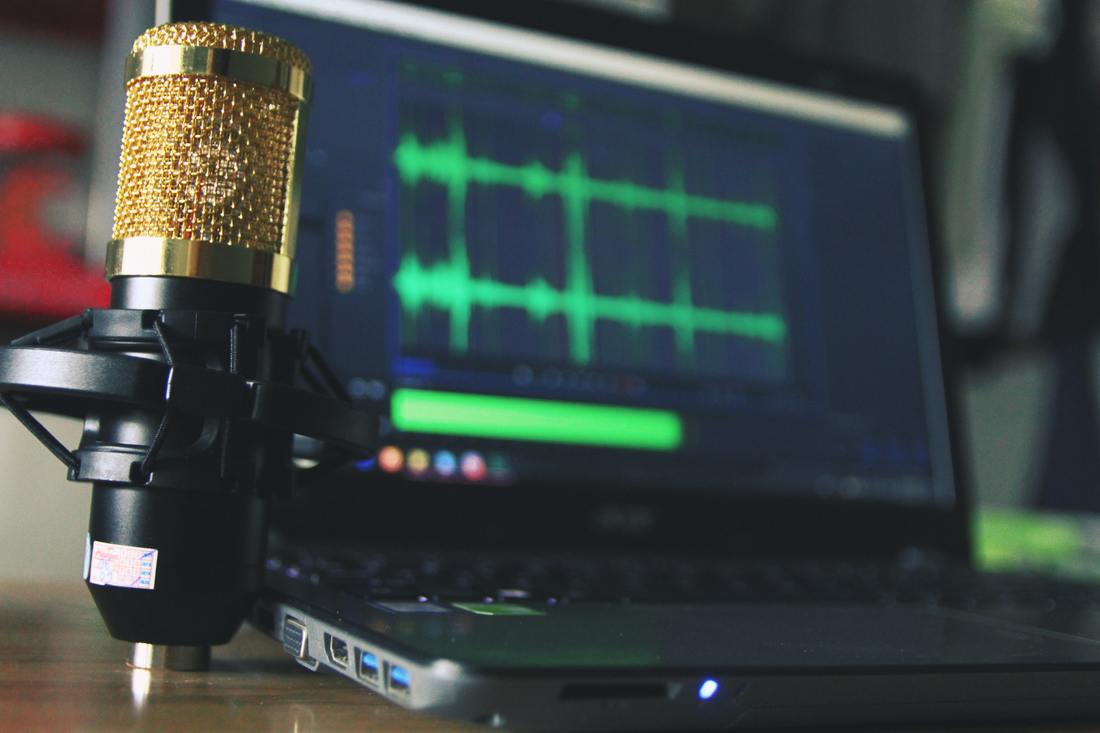
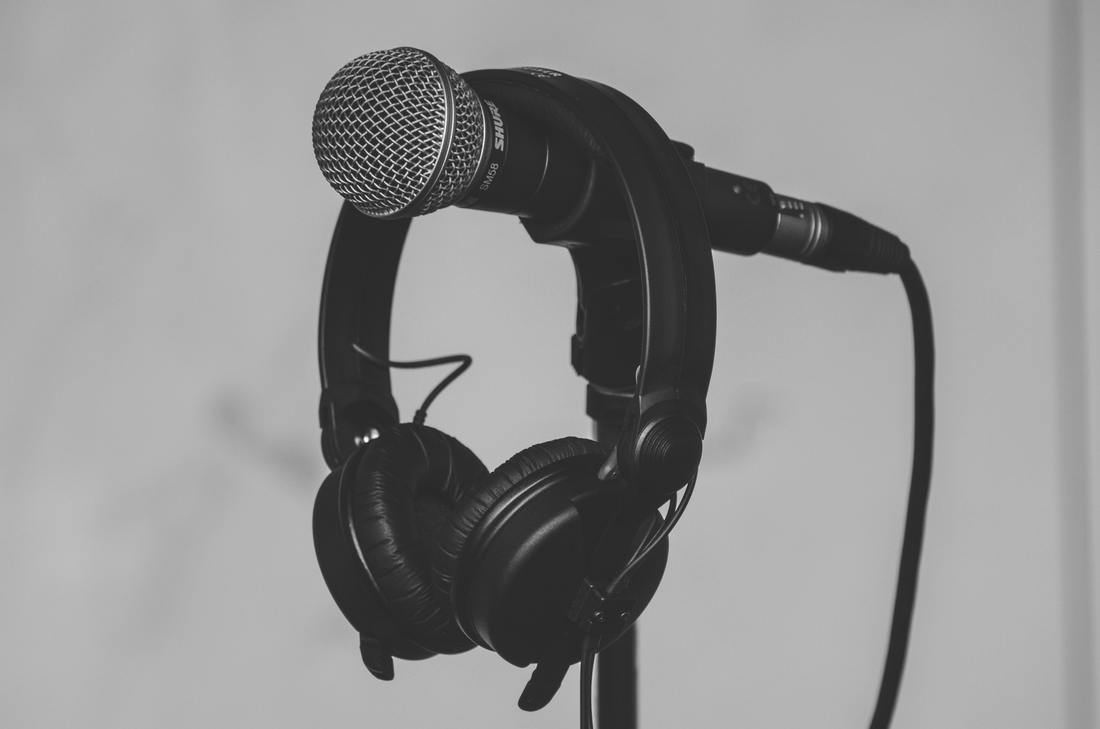
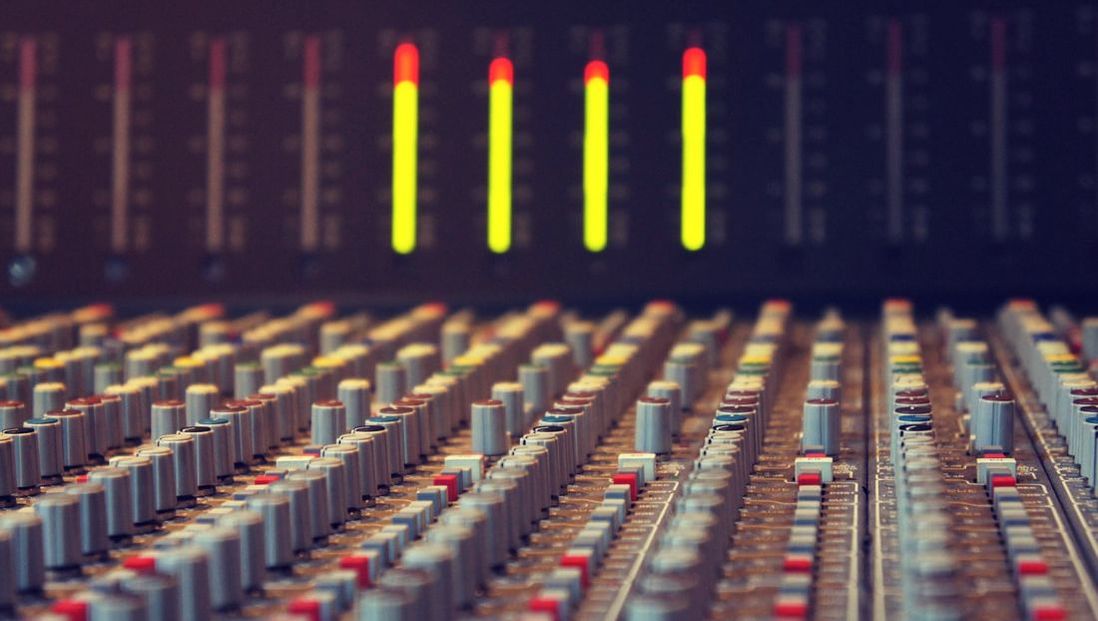
Getting good sound right from the start will avoid many headaches and complications that may crop up in post production (editing & mixing). In this post I'll go over some techniques and things to consider when recording to help get the best results. Microphone Know-HowMicrophone Selection Using the correct microphone for the job is step one. As mentioned in this post, I recommend using a Dynamic mic with a Cardioid polar pattern. Dynamic mics are straightforward to use, they are less sensitive to ambient noise, and handle loud/dynamic voices well. Using a mic with a Cardioid polar pattern (or Super-/Hyper-Cardioid) means better off-axis rejection of sound, so less bleed from other voices, and less ambient noise. PositioningAs the saying goes, "Location, Location, Locution." Or something like that. If you don't have access to a soundproof studio, use the quietest room in your home/office. Once you've sorted out the acoustics, position the mic where it's not in the way, but still in your face. A tricky compromise. Make sure that you're comfortable - depending on your podcast, you might be sat for sometime... • Position the mic away from nearby reflective surfaces - walls, table tops, floors etc, unless those surfaces have some degree of acoustic treatment. Hard reflective surfaces can bounce sound towards the mic, resulting in Phasing, Distortion, and echoing. • Position the mic 15-30 cm away from you, within a 120 degree arc in front of you. This is to avoid the Proximity Effect, where low frequencies are increased when the mic is too close to the source. • Have the mic above/below you, and aimed at your mouth. By having the mic slightly out of the way, you avoid Plosives and excessive breathes. Using a Pop-Filter is still a good idea, to catch those plosives that might slip through. ListenUse Headphones. When setting the levels and while recording - listen to what is being recorded. If something comes through in the recording, you can easily pause for a moment, wait while the truck drives past, and then continue - it'll make cutting it out later much easier! Also be aware of noises that you make - bumping of the mic stand, banging the table, ruffling clothes... If you hear it while recording, it's because the mic's picking that noise up. A few seconds taken to repeat something while recording is much easier than trying to fix it in post. Remember that a Cardioid mic is directional - if you move away from it, or off-axis to the mic's capsule, your voice will become quieter. Higher frequencies are also more directional than lower frequencies, meaning that if you move away from the mic your voice can become less clear. Monitoring yourself while recording will help you stay in the sweet spot in front of the mic! Using an Audio Processing ChainYou may be using a Channel Strip, or an Audio Interface that has some features such as an EQ, Compressor, De-Esser... or you might use plugins in your DAW on the monitoring output. Whatever you do, especially if you're using a Channel Strip or Audio Interface, make sure it sounds good - remember that what you hear is what is being recorded. Badly EQ'd, or heavily compressed audio is difficult to salvage after recording. Just ask Cher. Using a DAW and plugins can make life easier, assuming it's non-destructive and the plugin effects are applied in real-time and not committed while recording, since you'll be able to correct settings as you go. Setting Recording LevelsAll the while that you're setting up your mic and positioning it, and getting the parameters of anything in your audio processing chain just right - always keep an eye & ear on your recording input levels. Ideally, you're recording you audio in a lossless format (WAV/AIFF) and at a suitable bit-depth and sample rate (at least 16-bit & 44.1 kHz). Bit Depth determines how loud you can go - for every Bit you get ±6dB of dynamic range, so at 24-bit you get 144dB (about at loud as a jet taking off). Sample Rate determines the frequency range of the signal. According to the Nyquist Theorem, the sample rate must the 2x the highest frequency that is to be recorded. The Human Voice has an approximate range of 80Hz up to 10,000Hz, so to record the full range the sample rate should be 22,050Hz - for reasons I won't go into, standard practice is to record at 44,100Hz (44.1kHz). It's just better, though there is reason to even record at 48kHz - but I'll let you google that and decide for yourself. OK. Are you still with me? Good. Clipping occurs when the audio signal being recorded (or mixed) exceeds the Bit Depth - the system runs out of Bits and literally flat-lines. The result, sonically, is a distorting crackle that can be heard and effectively ruins the audio quality. As a visual indicator, most audio recording devices and DAWs have meters that display the audio signal. As a guide, you don't want the meters to go to the very top, or to go into the red. Leave room for the signal to be able to fluctuate with your voice. Clipping can be heard when monitoring, so use those headphones as well as your eyes checking the meters. Play around with the gain setting of your pre-amp to find the right level to avoid any signal distortion. An optimal recording level will be around 50%-70% (around -23dBFS/LUFS), but this is just a guide - use your ears and best judgement. As mentioned above, recording at 24-Bit will give you 144dB of dynamic range, which you should really struggle to clip while recording a podcast unless your podcast's topic is combustion engines/drums/cannons/rock concerts. 16-Bit will give 96dB or range, which for normal conversations is usually fine, unless you get very excitable. TL;DR - Red = Bad. Thanks for Reading!
0 Comments
Your comment will be posted after it is approved.
Leave a Reply. |


