|
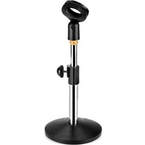
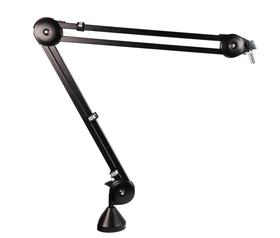
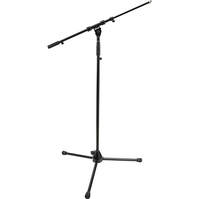
In this post I'm going to go over some of the extra hardware bits and bobs that are good to have - some necessary, some not so much. 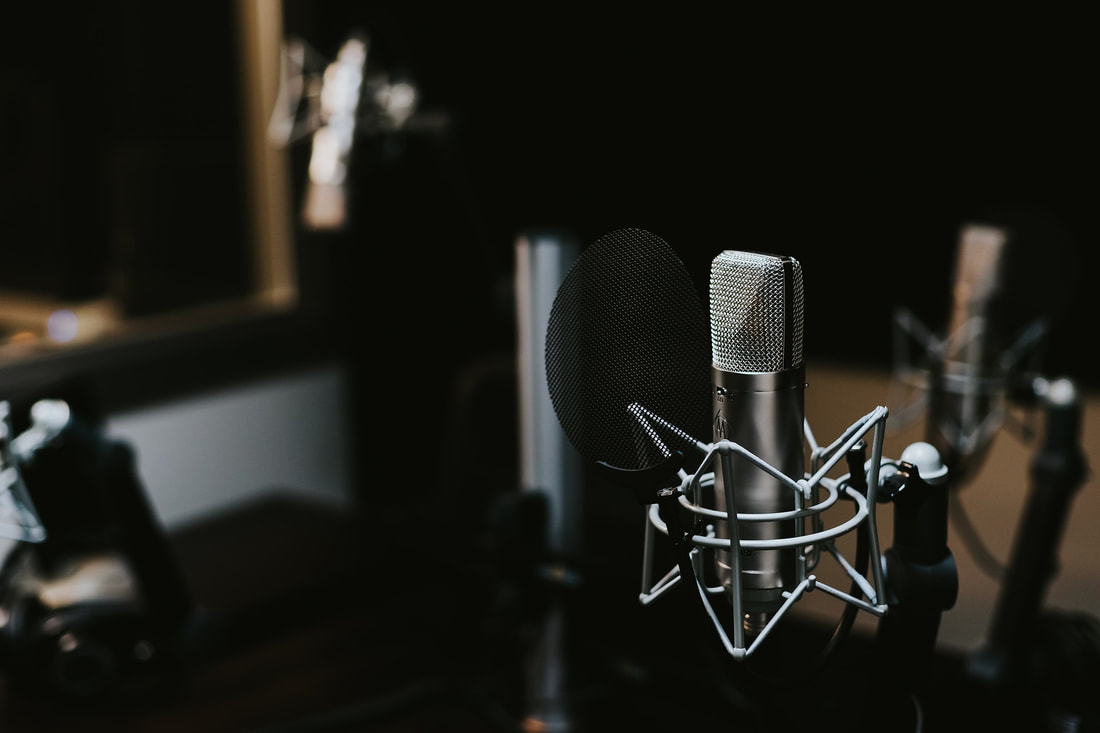 EssentialsXLR Microphone Cable You'll need this to connect any XLR mic into your pre-amp. Pretty straightforward right? It's worth getting a cable with metal connectors rather than plastic, and spending a little extra on a cable that has decent shielding - the shielding is a wire mesh that is wrapped around the core wires carrying the mic signal, preventing radio and electromagnetic interference of the mic's signal, blips, beeps, hum, noise and even commercial radio signals. If you like to look after your cables and want them to last a long, long time, it's worth learning the right way to coil them up - YouTube to the rescue! Lastly, the Male connector has the 3 pins and the Female connector has 3 holes. In case you were wondering. 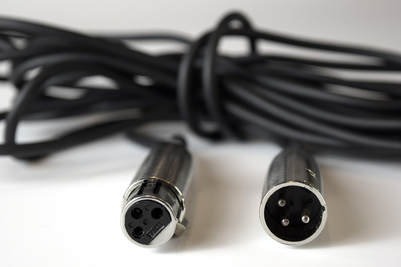 An example of how NOT to coil up your mic cable. Microphone Pop Filter/Wind Shield A Pop Filter is typically a circular hoop with a nylon fabric mesh on a flexible goose-neck clamp. Some are made of metal, but the effect is the same. Pop Filters reduce the force of sound pressure waves coming from your mouth as you say words beginning with Plosives - hold your hand up in front of your mouth and say "Boo" and "Pa". Do you feel the air hitting your palm? That's what the pop filter's for. If that rush of air hits the mic diaphragm, it'll cause distortion to the signal. Try it and see for yourself! Foam Windshields, or Windscreens, have the same effect - stopping rushes of air, whether from breath or wind, from hitting the mic and causing distortion pops. These can be useful if you've not much space in the studio, or do a lot of recording outdoors. If you're outdoors a lot then consider getting a "furry" type windscreen, these are better at dealing with wind - of the weather sort. 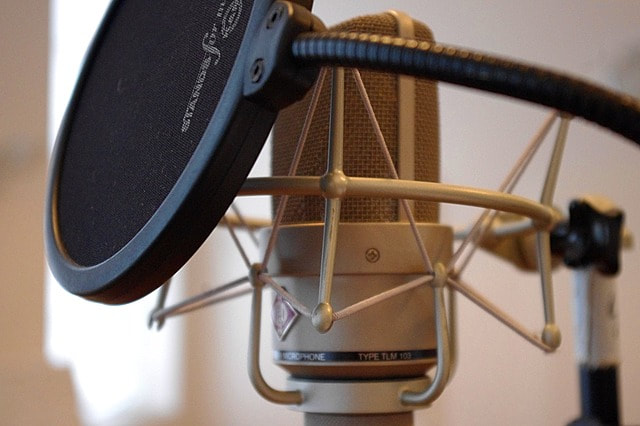 A State-of-the-art Nylon Pop Filter, in it's natural environment. Microphone Stands If you're in a studio environment you'll need something to hold your mic while you talk... if you're out conducting a roving reporter style recording, well, have one for when you're back home.
Headphones When recording, you need to be able to monitor the recording - to hear what's being recorded and how it sounds. A good set of over-ear headphones with a Closed-Back design will isolate the sound, so that you can hear it clearly. Noise-cancelling earbuds also work well, but can be uncomfortable and damaging to the ear in the long term. Closed Back means the back covers of the drivers are sealed, cutting out ambient noise better so you can hear the recording more clearly. Other types include Open Back (not sealed) and Semi Open Back (slightly sealed). It's worth getting a set of professional "studio grade" headphones that don't colour the sound being reproduced. Regular high-street headphones are sometimes tuned so that they enhance the audio - this is a no-no, as you want the signal to be as honest as possible so that you can identify if something is wrong with the recording. And lastly, don't get wireless headphones! Because wireless tech needs to digitise the signal > transmit it > and decode it to analogue again, it creates latency in the signal - a slight delay - which will negatively affect your judgement; not to mention that the wireless signal may interfere with your other equipment! 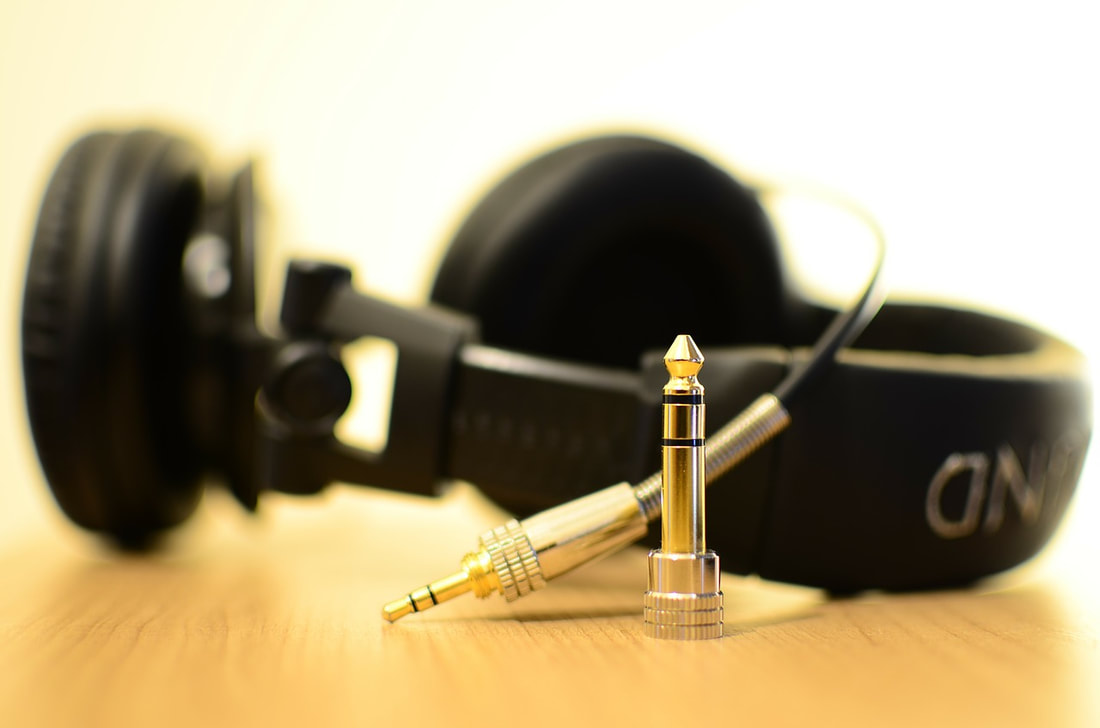 A pair of Headphones in repose. Not so essential but nice to have, maybe. Or depending on your set-up, perhaps essential... you decide!A Headphone Amp If your audio interface only has one or two headphone outputs, and you need more, then a Headphone Amp will be necessary. The headphone amp will boost the signal and distribute it to multiple outputs. Pretty simple right? Just connect it to your audio interface's headphone/line output using a Stereo/Balanced cable, and plug in your 'phones. 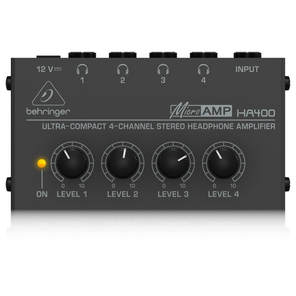 Behringer's HA400 - provides up to 4 Headphone connections, with individual loudness controls. Headphone Extension Cable It's a cable that extends the length of your headphone's cable, for when you can't get close enough to your headphone amp. What more is there to say? I don't know. Maybe leave a comment if you think of anything. A Dedicated Microphone Pre-Amp & Channel Strip Some might want more control over the microphone's signal before it gets digitised and recorded by the computer. There are a number of Pre-Amps with Channel Strips out there that may have an EQ, Compressor, a De-Esser and more. This replaces the pre-amp of the audio interface, so remember not to set the gain too high on the interface's pre since you'll be boosting it with the channel strip's pre. Prices go from cheap... to not so cheap. If you do get one, remember that anything that you do to the signal at this stage likely can't be undone in the recorded audio, so it's important to set it the parameters correctly.  The entry level DBX 286S Pre-Amp and Channel Strip with basic EQ, Compresor, De-Esser & Gate. 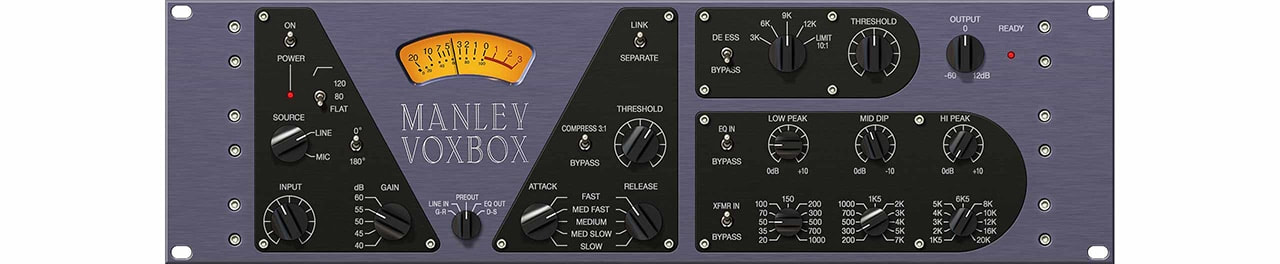 The not-so-entry-level Manley VoxBox with 3-Band EQ, Compressor & De-Esser.
Thanks for Reading!
0 Comments
Your comment will be posted after it is approved.
Leave a Reply. |